

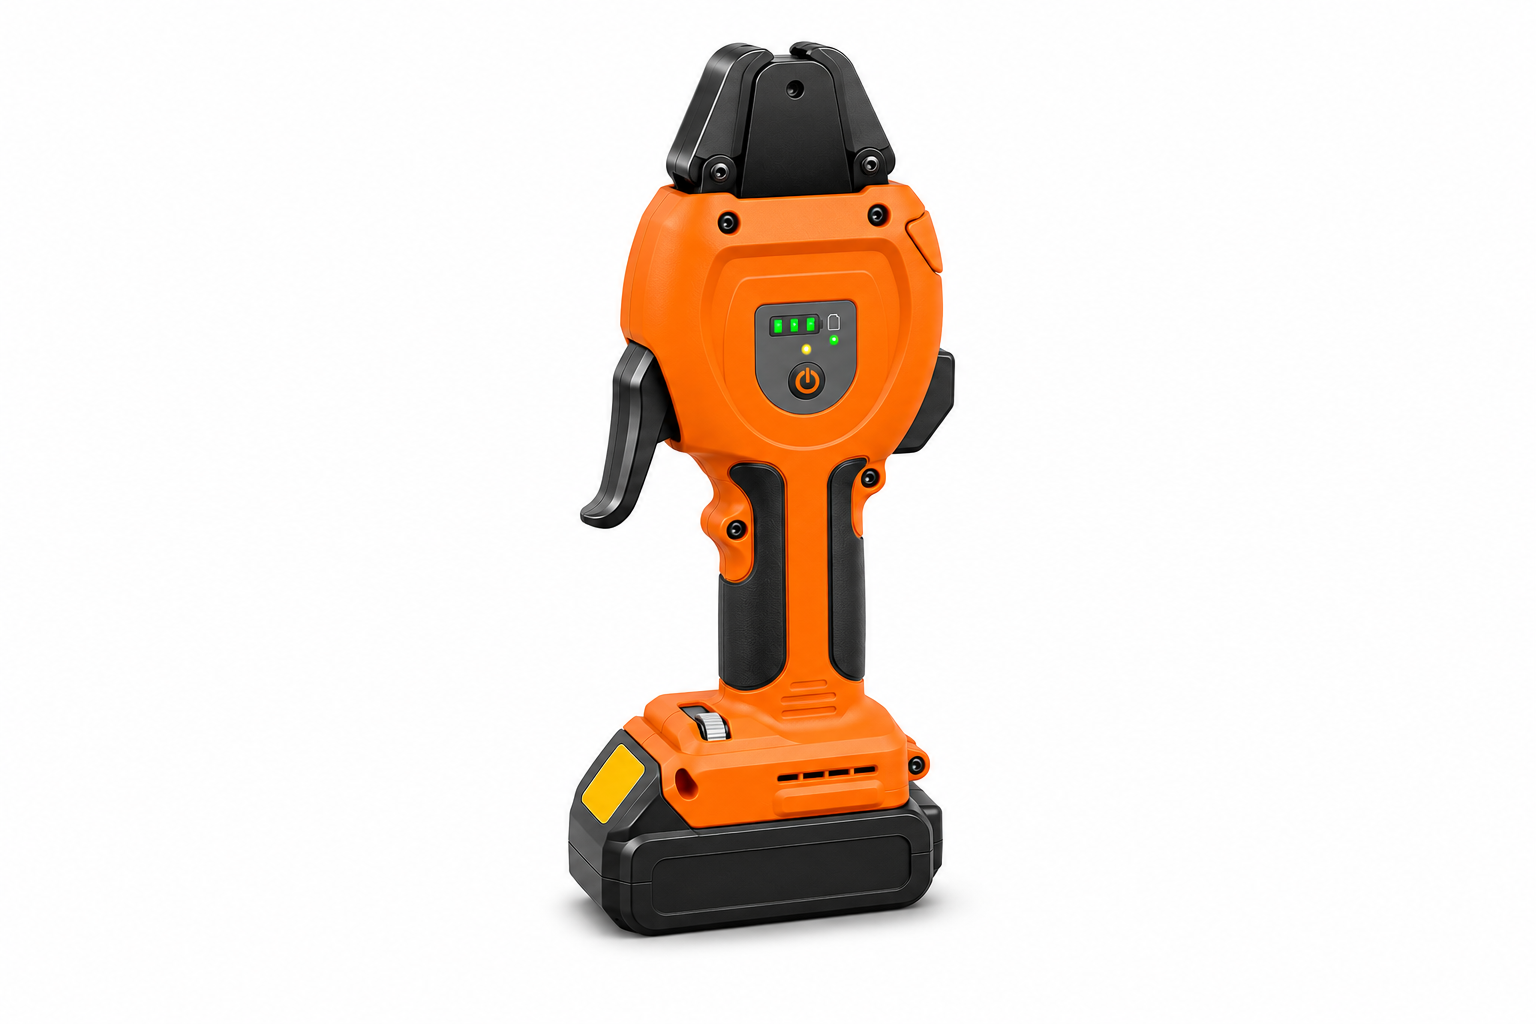
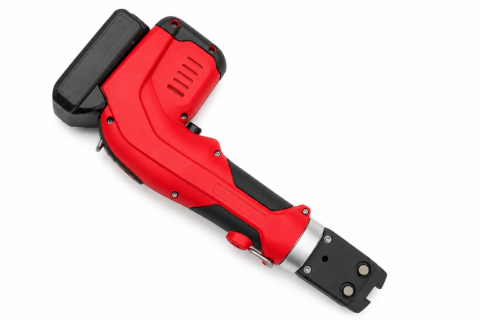
The two-setting tool uses a geared motor to drive the pincer head, with electronic controls and sensors managing the crimp cycle. The EP201 uses an electro-hydraulic drive and provides an automatic clamping cycle, mechanical pressure release, work light, and cycle counter.
| Two-setting motor-driven tool | EP201 electro-hydraulic tool |
 |
 |
 |
 |
| Parameter | Specification |
| Closing-force settings | Low 2,400 N (green) High 5,400 N (blue) |
| Weight without battery | 1.1 kg |
| Battery | 18 V, 2.5 Ah |
| Charger input | 110–240 V AC |
| Charging time | 50–80 min |
| Automatic sleep | After 5 min of inactivity |
| Dimensions | 295 × 75 × 130 mm |
| Band width × thickness | 7 × 0.6、7 × 0.8、9 × 0.6、9× 0.8 mmmm |
| Parameter | Specification |
| Model | EP201 |
| Voltage and battery capacity | 18 V DC,2.0 Ah / 4.0 Ah |
| Power | 240 W |
| Jaw output force | 7 kN(7,000 N) |
| L × W × H | 46 × 40 × 15 cm |
| Band width × thickness | 10 × 0.8、10 × 1.0 mm |
| Inner ear width | ≤13 mm |
| Weight | Net 2.33 kg; packaged 5.7 kg |
| Ingress protection | IP20 |
| Operating ambient temperature | −10°C to +50°C |
Apply the specifications to the corresponding configuration. EP201 heads are configured for the clamp type. Confirm optional head compatibility against the order and applicable drawings.
The tool supports validated single-ear, two-ear, and adjustable ear clamp applications. Check band dimensions, ear geometry, jaw approach, and closing-force setting. Follow the approved crimp sequence for each two-ear clamp.
Check that the head is secure and undamaged, then fit the battery until the latch engages. Wait for two beeps and the operating screen. The tool starts in low mode. Use the selector to switch between 2,400 N (green) and 5,400 N (blue). Verify the crimp on a new clamp of the same specification before batch assembly.
Position the clamp on the specified clamping land. Press the manual head-opening lever and seat the ear base squarely against the jaw faces. Release the lever and check centering. Press the crimping trigger and release it after the motor stops automatically. Wait for the drive to return and stop, then open the head and withdraw the tool.
After five minutes without use, the tool enters sleep mode. Clear the jaws and briefly press the trigger to wake it. Wait for the operating screen. On a low-voltage warning, remove and recharge the battery with the designated charger. Check the charger input rating before connection. The supplied charger’s indicator flashes when powered and stays lit when charging is complete. Follow the markings on the charger.
Use designated or confirmed compatible heads with the EP201. Dedicated heads can be configured for two-ear, one-piece ear, PEX, or spring clamps. Verify the specific clamp-to-jaw interface and approve the first assembly before production.
Charge the 18 V lithium-ion battery before first use. Check that the jaws are fitted and the battery is latched. Position the clamp as required for the fitted head. Hold the start button for more than 1.5 seconds to activate the automatic clamping cycle. At completion, the motor stops and the buzzer and display indicate the result.
During the automatic cycle, press the start button again to end automatic operation and stop the motor. With the tool stopped, press the mechanical pressure-release button to release pressure and return the piston. Inspect an interrupted assembly under the applicable procedure before disposition.
The LED illuminates the work area on activation and switches off when the tool enters sleep mode. Check charge status using the battery button or tool display. If cold oil affects operation, run one or two cycles with the designated head and trial assembly, then check for stable operation.
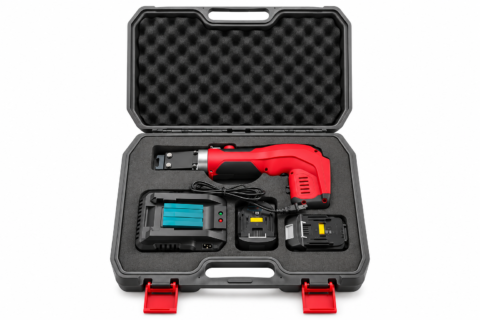
Service the tool every two years or 10,000 clamping cycles and follow display service prompts. Repairs are performed by TFURTHER or an authorized service provider. Standard supply includes the tool, charger, two 18 V batteries, case, and instructions. Confirm heads and other accessories against the order.
Wear safety glasses and keep fingers clear of the jaws and moving parts. Avoid accidental trigger operation while positioning. Remove the battery and confirm that motion has stopped before changing heads, cleaning, or servicing. Fit the designated jaws before operating the EP201. Use the battery, head, and charger specified for each tool.
| Warning | Response |
| Low voltage | Remove and recharge the battery with the designated charger. |
| High voltage | Stop, remove the battery, and verify its voltage rating. |
| Overtemperature | Pause work and allow natural cooling until the warning clears. EP201 inhibits startup above a system temperature of 60°C. |
| Two-setting tool overcurrent | Stop use and request inspection for mechanical overload. |
| EP201 overload | Stop work and request hydraulic system inspection by an authorized service provider. |
Check clamp position, ear formation, and band condition. Measure residual ear gap or perform leak testing as specified. Remove debris and inspect for wear, cracks, and looseness. Store the tool and battery separately in dry conditions and protect terminals from metal contact. Keep batteries below 60°C and follow battery storage instructions. Dispose of EP201 hydraulic oil and batteries through appropriate local collection channels.
Provide the tool configuration, clamp type, band dimensions, size range, head requirements, and quantity. EP201 carries a 24-month warranty from delivery, supported by proof of purchase. Coverage and transport charges follow the sales terms. Damage arising from missed maintenance, misuse, or unapproved accessories is handled under those terms.