
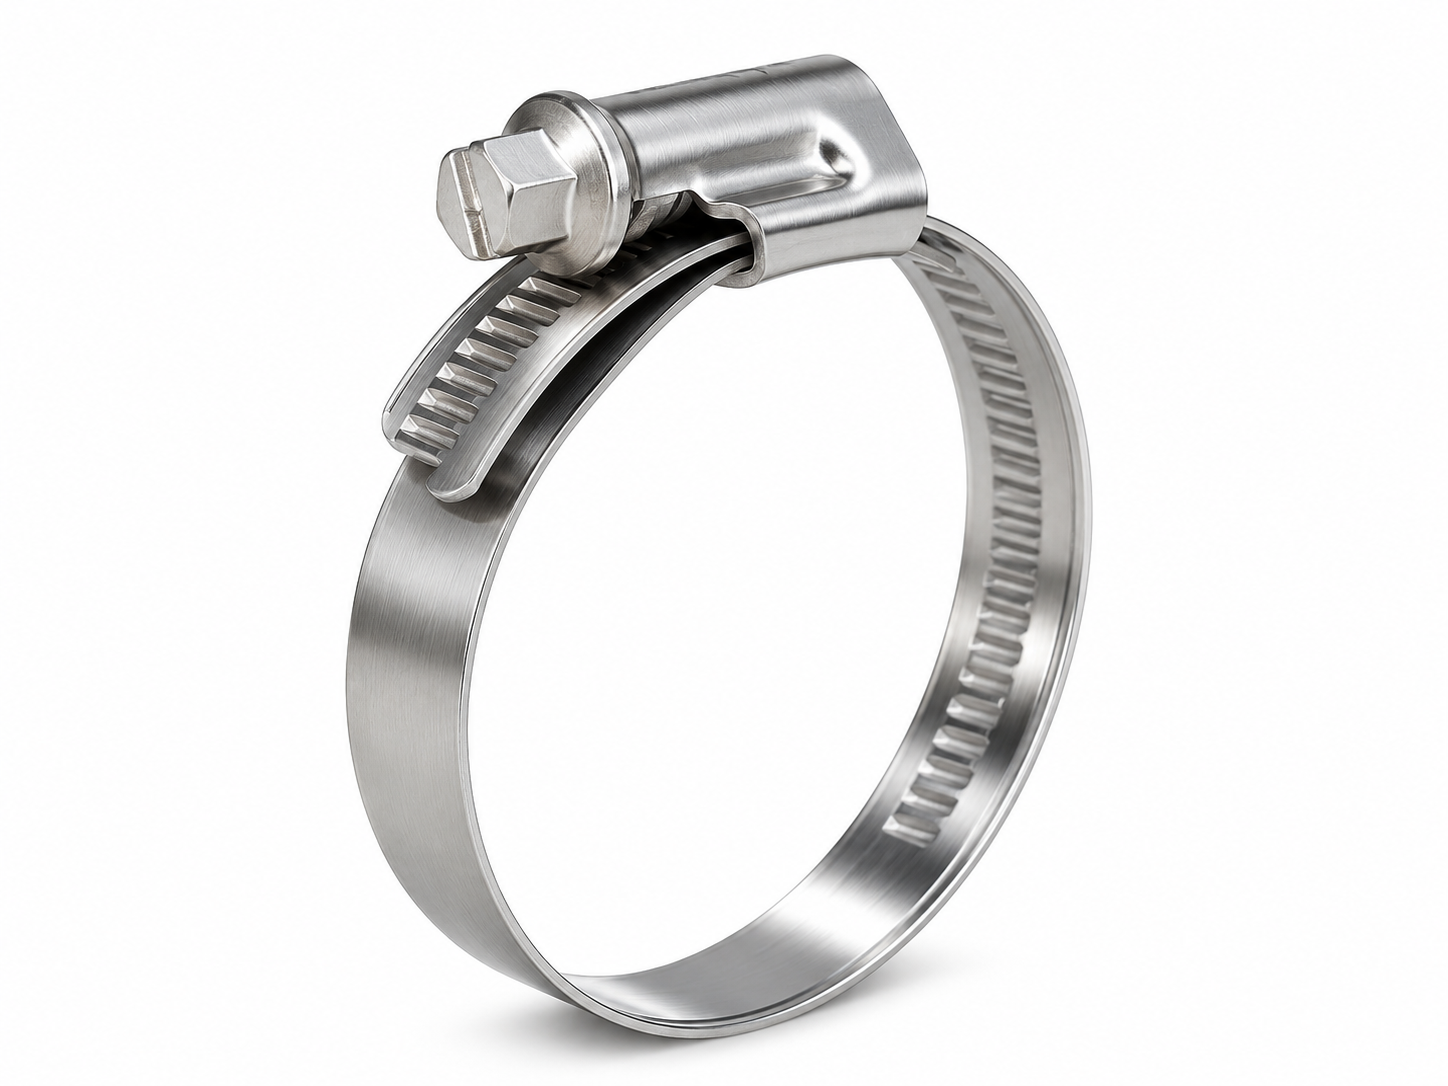
This German-type worm-drive hose clamp secures hoses to fittings. The offset housing positions the worm screw to one side of the band. Evaluate screw orientation where brackets or adjacent lines restrict tool access. Turning the screw draws the band around the hose. Size the clamp by the assembled hose outside diameter at the clamping location and check the available clamping land, housing envelope, and tool access.
The clamp consists of a band, offset housing, and worm screw. Tightening the band compresses the hose against the fitting at the designated clamping location. Candidate applications include automotive coolant and heater hoses and general equipment hoses. Confirm suitability for the hose material, service medium, temperature, pressure, and vibration conditions.
The reference range includes 9 mm and 12 mm bands. Select the width so the entire band fits on the designated clamping land with clearance to adjacent components. Verify the band, housing, and screw materials individually for the part number and consider external corrosion exposure and service conditions.
Seat the hose to the specified depth and determine the minimum and maximum assembled outside diameters at the clamping location. Check both limits against the clamping range of the selected part number. During trial assembly, verify slide-on clearance, full engagement of the driver bit or socket, and clearance around the offset housing after installation. Where adjacent components move in service, verify minimum clearance under representative conditions.
Move the clamp to the specified location, seat the band squarely, and orient the screw for tool access. Use a matching driver bit or socket and tighten to the installation torque specified for the part number and approved process. Check the applicable torque for each band width, material configuration, and size.
Check clamp position, band seating, screw engagement, and hose condition. Look for misalignment, scoring, or excessive extrusion. Before production, trial-fit assemblies at both outside diameter limits. Check leakage, axial pull-off resistance, or joint condition after thermal cycling as required by the application. Use installation torque as a process setting and assess joint performance through assembly tests.
Provide the Towin part number or required construction, assembled outside diameter limits, band width, component material requirements, and quantity. If access is restricted, include the fitting drawing and the available space for the housing and tool. Specify the screw orientation, tool approach direction, and available clearance.
You can get a price or send us any questions to get any information you would like to know, and we will reply to you as soon as possible.